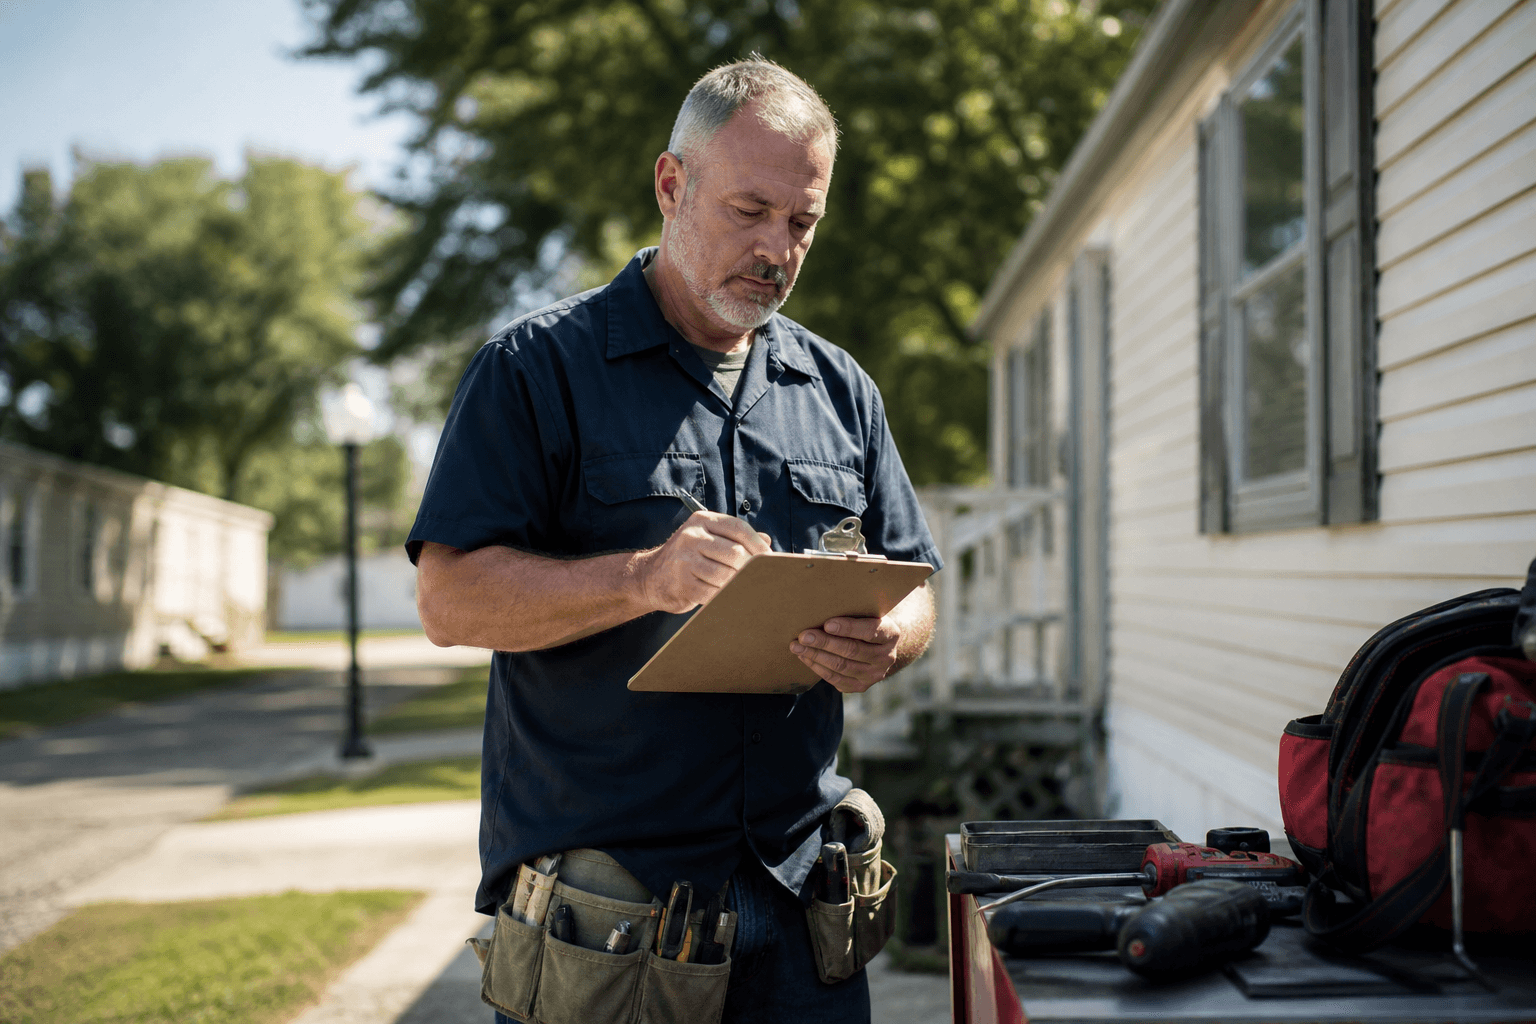
Cosmetic vs. Structural: The Non-Negotiable Distinction
Before any cosmetic work begins, the home must be structurally sound. Cosmetic repairs make a home look better. Structural repairs make a home safe and functional. No amount of fresh paint fixes a soft floor caused by water damage under the belly board. No new light fixtures compensate for failed roof decking that allows moisture intrusion.
Structural items that must be addressed before cosmetic work:
- Soft or spongy floors: Usually caused by water intrusion from below. Repair the belly board, fix the plumbing leak causing the moisture, and replace the subfloor before you install flooring over it.
- Roof leaks: A leaking roof will destroy cosmetic work within one to two seasons. Seal or re-coat the roof before any interior work.
- HVAC failure: A home without functional heating and cooling will not rent or sell at market. Replace or repair HVAC before listing.
- Electrical hazards: Faulty wiring, missing breakers, or overloaded panels are safety issues that must be corrected before occupancy.
- Plumbing leaks: Active leaks under sinks, at connections, or in the belly of the home will cause mold and structural damage if left unaddressed.
Once structural items are confirmed resolved, cosmetic work can begin. For a complete framework on where cosmetic repairs fit into the overall acquisition and renovation process, see the investor guide. HUD's Title I Property Improvement Program insures manufactured home repair loans up to $25,090.
The Six Highest-Return Cosmetic Repairs
1. Interior Paint
Nothing transforms a manufactured home interior faster or more affordably than a full repaint. Old paint yellows, absorbs odors, and signals neglect to prospective buyers and tenants. Fresh paint in neutral colors signals move-in readiness.
Cost:
- DIY materials (singlewide, 900-1,000 sq ft): $150-$250 for primer and paint (2-3 gallons primer, 4-5 gallons finish coat)
- Labor to hire a painter: $400-$800 for a singlewide; $600-$1,200 for a doublewide
Total range: $150-$600 DIY; $500-$1,200 contracted
Color selection: Use light, warm neutrals. Greige tones (gray-beige combinations), soft white, and light taupe work in almost any home. Avoid bright colors, stark white (which shows dirt), and dark colors that make small rooms feel smaller.
DIY suitability: High. Paint is the most accessible DIY task in renovation. The main skills required are proper surface preparation (cleaning, sanding, patching nail holes) and cutting in at trim lines. Invest in quality brushes and a 9-inch roller, cheap tools produce visible results.
Tip: Repaint doors, cabinets, and trim in semi-gloss or satin finish for durability. Use flat or eggshell on walls.
2. Flooring Replacement
Flooring is the second-highest-impact cosmetic item in a manufactured home. Old carpet holds odors and allergens, and visually ages a home faster than almost anything else. Vinyl plank flooring (LVP) has become the standard for manufactured home renovation because it is durable, moisture-resistant, affordable, and visually modern.
Cost:
- LVP material: $1.50-$3.50/sq ft. A 900 sq ft singlewide needs approximately 950 sq ft with waste allowance.
- Material cost at mid-range ($2.50/sq ft): $2,375
- Installation labor: $1.00-$2.00/sq ft installed, or $950-$1,900 for a singlewide
- Carpet removal (if applicable): $0.20-$0.50/sq ft, or $190-$475
Total range: $1,500-$3,500 installed for a singlewide; $2,500-$5,500 for a doublewide
Subfloor consideration: Before installing LVP over existing subfloor, check for soft spots. LVP will flex and crack over compromised subfloor areas. A basic subfloor patch kit runs $30-$80 and can address small problem areas.
DIY suitability: Moderate. Floating LVP installation is accessible for confident DIYers. The main challenges are cutting around doorways, managing transitions, and maintaining consistent expansion gaps. Large homes with many rooms benefit from professional installation to maintain alignment across long runs.
Alternative: Sheet vinyl is cheaper ($0.80-$1.50/sq ft material) and faster to install but less durable and less visually appealing than LVP. Use sheet vinyl in utility areas or investor-grade rentals where durability over aesthetics is the priority.
3. Cabinet Painting or Refacing
Kitchen and bathroom cabinets dominate the visual impression of these rooms. Cabinets that are structurally sound but dated, typically dark wood laminate or basic oak, can be transformed for a fraction of the cost of replacement.
Cabinet painting:
- DIY: $100-$200 in primer, paint (cabinet-specific formula), and supplies
- Hired professional: $400-$900 for a standard kitchen cabinet set
Cabinet refacing (new doors and drawer fronts, painted or wrapped boxes):
- DIY with RTA (ready-to-assemble) door fronts: $300-$600
- Professional refacing: $600-$1,500
Full cabinet replacement: $2,500-$6,000 installed, only justified if cabinets are structurally failing or badly damaged.
Paint selection for cabinets: Use a bonding primer followed by cabinet-specific enamel (Benjamin Moore Advance or Sherwin-Williams Emerald Urethane are the industry standards). These paints flow out to a hard, smooth finish that resists chipping.
DIY suitability: High for painting if you invest time in proper prep, degreasing, sanding, priming. The quality of cabinet painting is almost entirely a function of prep quality.
4. Fixture Replacement, Faucets, Light Fixtures, Cabinet Hardware
Replacing fixtures and hardware is the highest return-per-dollar cosmetic investment in manufactured home renovation. Old faucets with calcification, brass fixtures from the 1990s, and hollow-sounding cabinet knobs all date a home instantly. Modern brushed nickel or matte black replacements signal contemporary renovation without significant cost.
Cost breakdown:
- Kitchen faucet replacement (fixture + DIY install): $60-$150
- Bathroom faucet replacement x2 (fixture + DIY): $80-$180
- Light fixture replacements (kitchen, bath, hall, 4-5 fixtures): $120-$300 in fixtures
- Cabinet hardware (knobs and pulls, 15-25 pieces): $30-$80
- Outlet and switch plate covers (all rooms): $20-$50
Total range: $150-$400 DIY for all fixtures in a singlewide
DIY suitability: High. Faucet replacement is straightforward with basic plumbing tools (adjustable wrench, pliers, plumber's tape). Light fixture replacement requires basic electrical comfort, turn off the breaker, disconnect and reconnect three wires, and secure the fixture. If you are uncomfortable with electrical work, hire a handyman for the light fixtures and DIY everything else.
Note on mobile home specific plumbing: Manufactured homes often use plastic supply lines (PEX) and compression fittings rather than copper. Replacement faucets must be compatible. Use standard 4-inch center bathroom faucets, they fit standard manufactured home sinks.
5. Bathtub and Shower Surround Resurfacing
Dated, stained, or discolored tubs and shower surrounds are a major visual detractor. Full replacement (tub plus surround) runs $1,500-$3,500 including demolition, expensive for a cosmetic-only repair. Resurfacing (reglazing) is a fraction of that cost and produces a visually similar result.
Resurfacing cost: $300-$600 professional for a tub and surround set. Resurfaced tubs look new and last 5-10 years with proper care.
DIY resurfacing kits: Available for $50-$100, but the quality of DIY reglazing is significantly lower than professional application. The finish requires good ventilation, proper etching, and spray application for durability. For most investors, professional resurfacing at $300-$600 is the right call.
When to replace instead of resurface: If the tub is cracked (not just stained), if the surround has significant water damage behind the panels, or if the tub is fiberglass with structural delamination, replacement is the right answer. A crack in a tub cannot be successfully reglazed long-term.
6. Exterior Presentation: Power Wash, Skirting, and Entry
The exterior is the first impression for any prospective buyer or tenant. A home that looks neglected on the outside sends buyers away before they ever see the interior improvements.
Power washing the exterior: $100-$200 hired (or $0 if you own or rent a pressure washer). Removes mold, algae, and years of grime from siding. Transformative for vinyl and T-111 siding homes.
Skirting repair or replacement: Damaged or missing skirting sections undermine the entire exterior presentation and can also cause HVAC efficiency problems (exposed underbelly). Vinyl skirting panels run $0.50-$1.50 per linear foot for material. A full skirting replacement on a singlewide (approximately 120 linear feet of perimeter) costs $500-$1,000 installed.
Entry improvements: Fresh paint on the door, a new door handle and lockset ($40-$80), small potted plants, and a new welcome mat ($20) cost almost nothing but significantly improve first impressions.
Exterior paint (if needed): If the home has peeling or faded paint (not vinyl), repainting the exterior costs $500-$1,500 for a singlewide depending on surface prep requirements. Do not paint in poor condition, it will peel within a season.
Total exterior budget range: $200-$800 for power wash, skirting repair, and entry refresh. $700-$2,500 if exterior paint is included.
What NOT to Do Cosmetically
Just as important as knowing what to repair is knowing what to skip. Over-improvement is the most common mistake in manufactured home renovation.
Do not replace countertops if cabinets are failing. If the cabinets are soft, swollen, or coming off the wall, fix the cabinets first. New countertops on failing cabinets look wrong and will not survive.
Do not upgrade appliances beyond market standard. A park rental does not need stainless steel appliances. Clean, functional appliances in any color are sufficient. A used range in good working order costs $100-$200. Spending $800 on a new stainless appliance in a park home recovers nothing extra in rent or resale price.
Do not add features park residents will not value. Ceiling fans in bedrooms are valued; professional landscaping is not. Tile backsplash may be valued; smart home technology is not. Match your upgrades to what the actual buyer or renter pool in that specific park will pay for.
Do not paint over structural problems. Painting a water-stained ceiling without fixing the roof leak first is a disclosure problem and a practical failure, the stain returns within months.
DIY vs. Contractor: Decision Guide
| Repair |
DIY Suitability |
Notes |
| Interior paint |
High |
Prep quality determines outcome |
| Flooring (LVP) |
Moderate |
DIY in small homes; hire in large ones |
| Cabinet painting |
High |
Requires time and proper primer |
| Faucet replacement |
High |
Basic plumbing tools required |
| Light fixture replacement |
Moderate |
Turn off breaker; basic electrical |
| Cabinet hardware |
High |
Screwdriver only |
| Tub resurfacing |
Low |
Professional produces far better results |
| Exterior power wash |
High |
Rent a pressure washer |
| Skirting repair |
Moderate |
Panel cutting and snapping in tracks |
| Roof coating |
Low |
Safety hazard; hire a professional |
💡 Did You Know? Budget $4,500 as a baseline and add contingency of 10%-15% for surprises.
Cosmetic Repair Sequencing
Order matters. Doing work out of sequence creates rework and wastes money.
Step 1: Deep clean. Clean every surface before any other work. Remove debris, clean cabinets inside and out, scrub bathrooms, eliminate odors. Cleaning before painting prevents odors from being sealed under paint.
Step 2: Structural repairs. Fix anything soft, leaking, or failing. This happens before paint because structural work is dirty and can damage fresh paint.
Step 3: Paint. Paint all walls, ceilings, doors, trim, and cabinets. Paint before floors go in, drips and spatters are easy to sweep up off subfloor; they ruin new flooring.
Step 4: Flooring. Install LVP or sheet vinyl after paint is dry. Flooring goes in after paint and before fixture installation.
Step 5: Fixtures and hardware. Install new faucets, light fixtures, and cabinet hardware after flooring is in. This prevents scratching new floors during fixture work.
Step 6: Tub resurfacing. Schedule this late in the process, resurfaced surfaces need 24-48 hours to cure and should not be exposed to dust from other work.
Step 7: Exterior. Power wash, skirting, entry, and exterior paint as the final step. Saves the curb appeal reveal for last, and exterior work does not interfere with interior work.
Cost-to-Value Scenario: $4,500 Cosmetic Budget
Here is a complete example showing how $4,500 in cosmetic repairs performs on a $28,000 acquisition.
Acquisition: Singlewide, 2-bedroom, 1976 manufacture, purchased for $28,000. Structurally sound, roof recently coated, no soft floors, HVAC functional. Cosmetically dated throughout.
Cosmetic Repair Budget:
| Repair |
Cost |
| Interior paint (DIY materials + 1 helper) |
$350 |
| LVP flooring, 900 sq ft installed |
$2,200 |
| Cabinet painting (DIY) |
$150 |
| Faucets x3, fixtures x5, hardware (DIY) |
$380 |
| Tub resurfacing (professional) |
$450 |
| Exterior power wash + skirting repair + entry |
$600 |
| Contingency (10%) |
$400 |
| Total |
$4,530 |
ARV (after renovation value): Comparable renovated singlewides in this park sell for $36,000-$40,000. Conservative ARV: $38,000.
Profit margin: $38,000 (ARV) - $28,000 (acquisition) - $4,530 (repairs) - $1,500 (holding and closing costs) = $3,970 net profit on a flip.
Alternatively, held as rental: After $4,530 renovation, the home commands $700/month vs. $575/month before renovation, a $125/month rent increase. At that rent, the renovation cost pays back in 36 months, and the investor captures higher rent indefinitely.
For sourcing the homes that benefit most from cosmetic renovation, see our guide on deal finding.
Common Mistakes in Cosmetic Renovation
Skipping the inspection before budgeting. A cosmetic budget built without a thorough walkthrough will miss structural surprises that blow the budget. Inspect every room, every cabinet, under the home, and on the roof before setting a renovation budget.
Underestimating labor costs. If you are hiring contractors, manufactured home work can cost more per hour than site-built work because the home's tight spaces, lower ceiling heights, and older construction details slow production. Get quotes specific to manufactured homes, not standard residential rates.
Buying cheap paint. One-coat coverage paint is worth the price premium. Cheap paint requires more coats, takes longer, and produces a less durable finish. Use mid-grade or premium paint for walls and semi-gloss for all trim and cabinet work.
Installing new floors over damaged subfloor. LVP is rigid. Any soft spot or height variation in the subfloor will cause planks to crack or buckle within months. Always repair subfloor before flooring installation.
Ignoring odors. Pet odors, smoke odors, and mildew can survive a standard paint job if the source is not treated. Use an odor-blocking primer (Kilz Original or Zinsser BIN shellac-based) on all surfaces in a home with odor history. Address carpet removal and subfloor treatment if the odor source is in the flooring.
Common Questions Answered
How much should I budget for a full cosmetic renovation on a singlewide?
A complete cosmetic renovation on a 900-1,000 sq ft singlewide costs $3,500-$6,000 depending on flooring choice, whether you self-paint or hire, and how much fixture replacement is needed. Budget $4,500 as a baseline and add contingency of 10%-15% for surprises.
Is LVP the right choice for all manufactured homes?
LVP is the most versatile and durable option for most manufactured homes. It handles light moisture exposure, is easy to clean, installs as a floating floor (no glue required in most cases), and looks modern. The exception is extreme humidity or direct water exposure areas (like bathrooms) where a waterproof LVP variant or sheet vinyl may be preferable.
Can I renovate and flip a manufactured home in a park?
Yes, but confirm with the park manager first. Most parks allow residents to sell their homes within the park. The park will screen the new buyer as a resident. Some parks have restrictions on investor-owned or rental homes. Clarify the park's policies on investor activity before acquisition.
How do I find contractors who work on manufactured homes?
Ask the park manager for referrals, they have seen many renovations and often know local contractors who understand manufactured home construction. Other investors in the market are another good source. General contractors who have not worked on manufactured homes may not understand the structural differences or the typical repair approaches.
Will the park allow me to make exterior changes?
Park rules vary. Most parks require approval for exterior modifications including skirting replacement, deck addition, or exterior paint color changes. Check the park's rules and get written approval before making any exterior change that differs from the home's current appearance.
Does cosmetic renovation affect property taxes or lot rent?
Cosmetic renovation does not typically trigger reassessment for personal property-titled homes. Lot rent is set by the park and is not affected by the home's condition or improvements. However, a significantly improved home may support a higher sale price or rent, which indirectly affects how you position the home in the market.
🎯 Key Takeaway: Cosmetic repairs address appearance, they do not fix structural problems. Structural issues must come first.
Make Every Dollar of Renovation Work
The manufactured home investors who build the most profitable portfolios are rigorous about renovation scope. They do not over-improve. They do not skip the structural checklist. They work in sequence, track every dollar, and compare the result against comparable sales before they start. A $4,500-$5,500 cosmetic renovation budget on the right acquisition produces $8,000-$12,000 in value, if you spend it on the right repairs in the right order. Use the sequencing, cost benchmarks, and DIY guidance in this article to build a renovation checklist for your next deal, and verify every number against local quotes before you commit.
Ready to Grow Your Portfolio?
Understanding mobile home cosmetic repairs is the foundation, but turning that knowledge into a profitable, growing manufactured housing portfolio is where the real work begins.
Book a Free Consultation with our team to map your next steps in the manufactured housing space.